I don't recall ever hearing about that formula for calculating allowable sizes of porosity. I do go along with
welderbrent with the idea that a responsible QC/QA department will generally repair items that may be within code, but could telegraph an image that would make a customer loose that ol' warm and fuzzy feeling when it comes to first impressions... and when a customer sees sloppy workmanship on the surface, it's easy for them to think there could be subsurface flaws as well. Most of the porosity I see on the job are single pores or smaller clusters, and when excavated they often size-up on excavation and can go quite deep, which can be another reason a responsible inspector will remind a responsible QC/QA guy that this scenario might exist. I carry a couple of the smaller wires from a torch cleaning set and can sometimes wiggle that wire a good 3/16" into a surface pore.


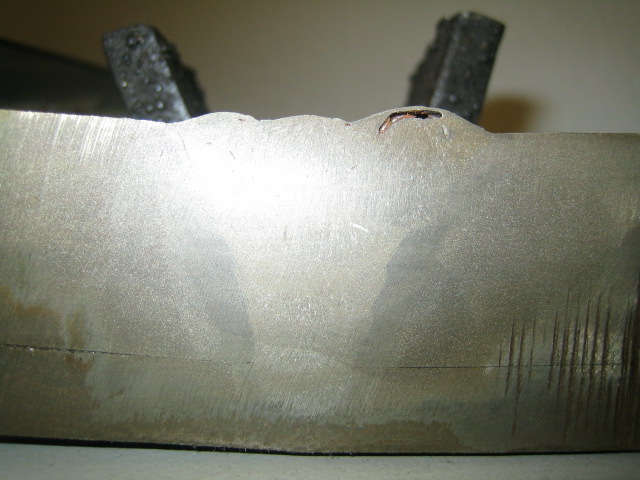
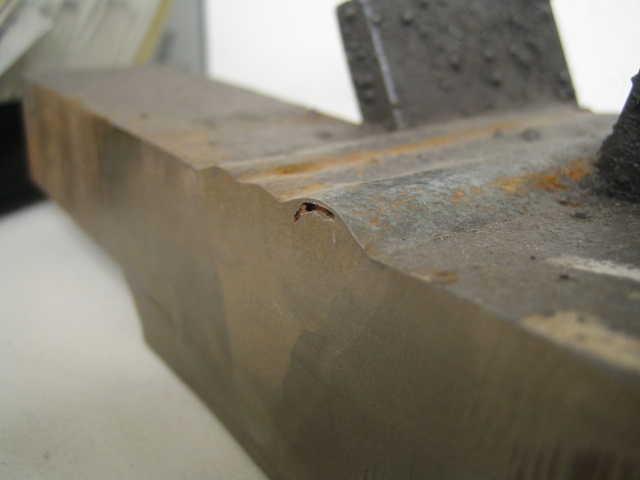
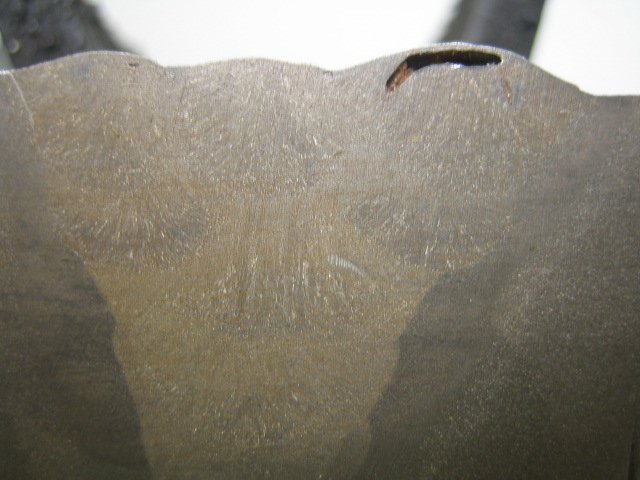
I cut my teeth in RT in the 70's and there were plenty of times I'd see an acceptable diameter pore, but it would be so dark it was obvious it had some significant height to it, and I would recommend a repair. Here is a section view and etching showing a really nice elongated pore just under the surface, and below that is some surface worm tracking.


